Неправильная установка душевого гарнитура может привести к протечкам, неравномерный напор воды и дорогостоящий ремонт в дальнейшем. Многие домовладельцы не уверены в том, что смогут самостоятельно справиться с подключением смесителя для душа и выравниванием душевой лейки. Хорошая новость заключается в том, что при правильной подготовке, наличии инструментов и рекомендаций установка душевого гарнитура может быть выполнена безопасно и профессионально даже неспециалистами.
 https://www.chinawuhuang.com/portfolio/shower-set-99
Какие инструменты и материалы необходимы?
Перед началом работ подготовьте разводной ключ, спиртовой уровень, дрель с насадками для кладки, тефлоновую ленту, отвертку, рулетку, дюбели, шурупы, силиконовый герметик и полный комплект для душа, включая смеситель и душевую лейку. Наличие всех инструментов гарантирует эффективный и бесперебойный процесс установки.

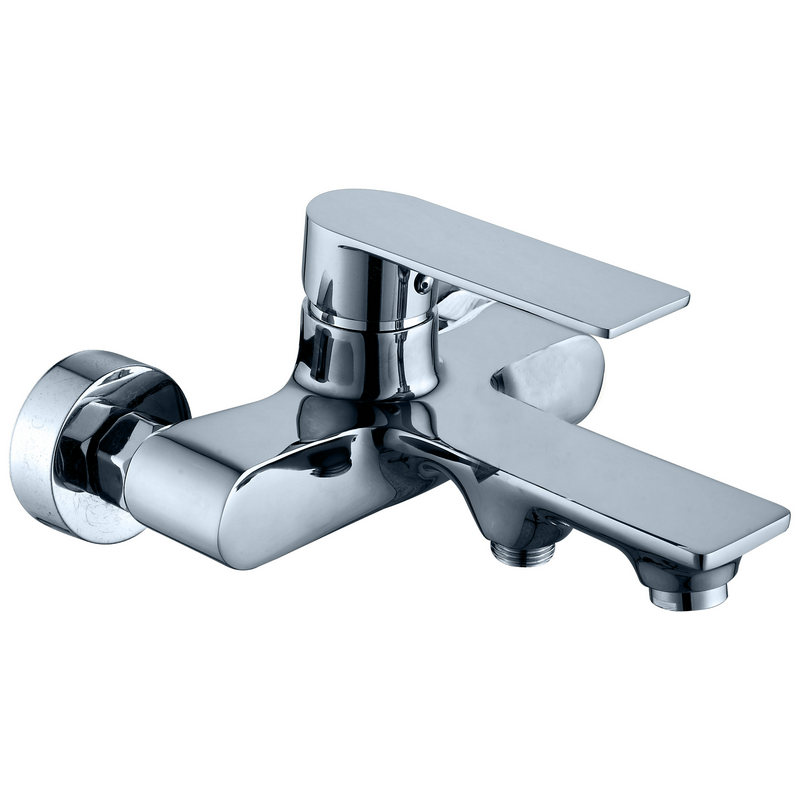
Установка душа включает в себя надежный монтаж смесителя, подключение горячей и холодной воды, герметизацию всех резьбовых соединений и крепление душевой лейки на нужной высоте и под нужным углом. Начните с отключения подачи воды, тщательно следуйте инструкциям производителя и проверьте под давлением все соединения перед окончательной герметизацией. Правильное выравнивание и гидроизоляция необходимы для обеспечения долговременной работы, безопасности и комфорта при ежедневном использовании.
Если вы хотите получить долговечный, не протекающий и профессионально выглядящий результат, продолжайте читать, чтобы получить подробное пошаговое объяснение.

Как установить душ: Подробное пошаговое руководство
Успешная установка душевого гарнитура начинается с тщательной подготовки и аккуратного выполнения работ. В первую очередь необходимо отключить основное водоснабжение, чтобы предотвратить случайное затопление. После отключения воды откройте имеющиеся краны, чтобы сбросить остаточное давление в трубах. Этот шаг очень важен для безопасности и точности установки.
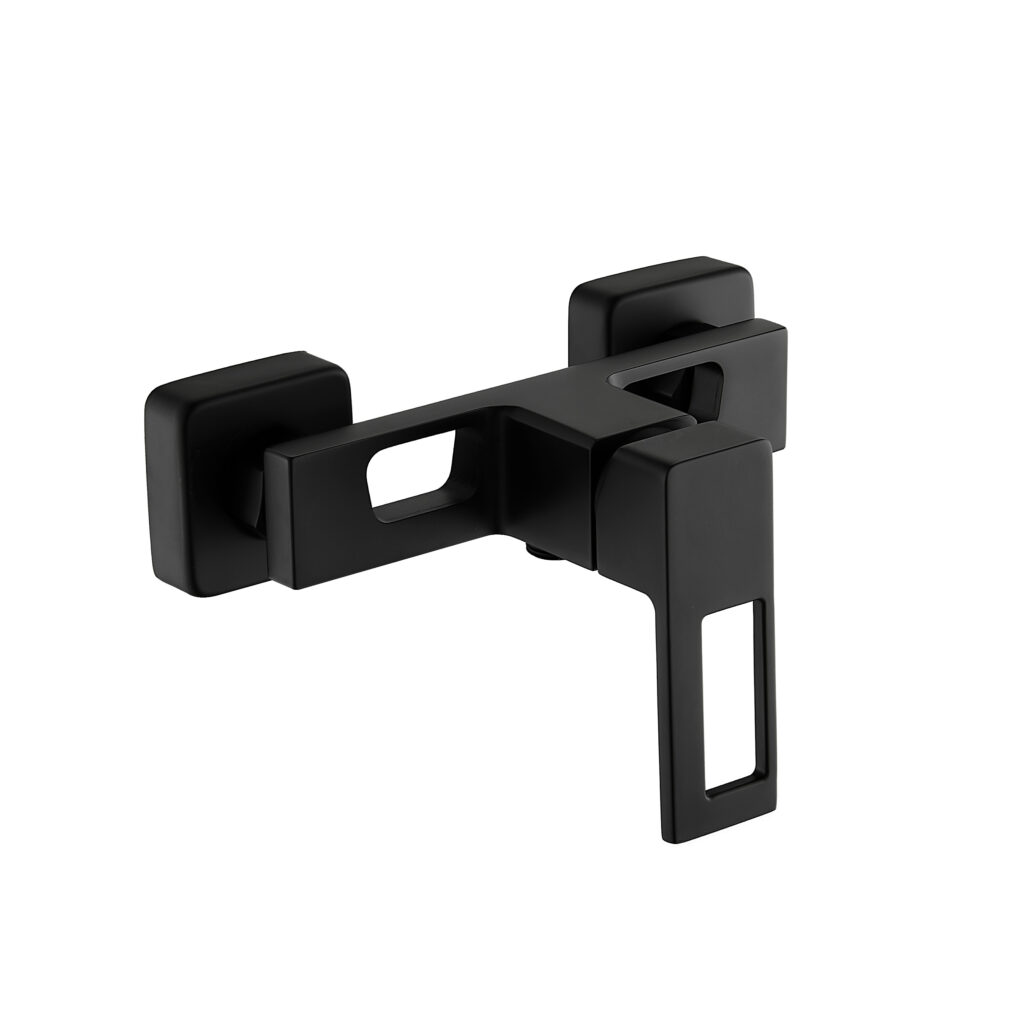
Затем отметьте положение смесителя для душа на стене. Используйте спиртовой уровень, чтобы убедиться, что смеситель расположен идеально горизонтально. Неправильное выравнивание на этом этапе может привести к долгосрочным проблемам, включая неравномерный поток воды и видимые эстетические недостатки. Просверлите необходимые отверстия в соответствии с монтажным шаблоном, прилагаемым к душевому гарнитуру, а затем вставьте дюбели для надежного крепления.
Подключите трубы горячей и холодной воды к смесителю для душа, соблюдая правильную ориентацию - горячая вода слева, а холодная справа, согласно большинству стандартов. Нанесите тефлоновую ленту на все резьбовые соединения для предотвращения протечек. Крепко затяните соединения, но не перетягивайте, это может повредить резьбу или внутренние уплотнения.
После подключения смесителя для душа надежно закрепите его на стене. Медленно включите подачу воды и проверьте, нет ли протечек. Если обнаружена утечка, отключите воду и заново затяните или загерметизируйте поврежденные соединения. Этот этап проверки необходим, прежде чем приступать к дальнейшим работам.
Убедившись, что смеситель для душа работает правильно, приступайте к установке стояка или душевого кронштейна. Отмерьте нужную высоту для душевой лейки, исходя из удобства пользователя, затем просверлите и закрепите кронштейны. В завершение заделайте все отверстия в стене силиконовым герметиком, чтобы предотвратить попадание воды за плитку. Такой комплексный подход гарантирует надежность, безопасность и визуальную чистоту установки душевого гарнитура.
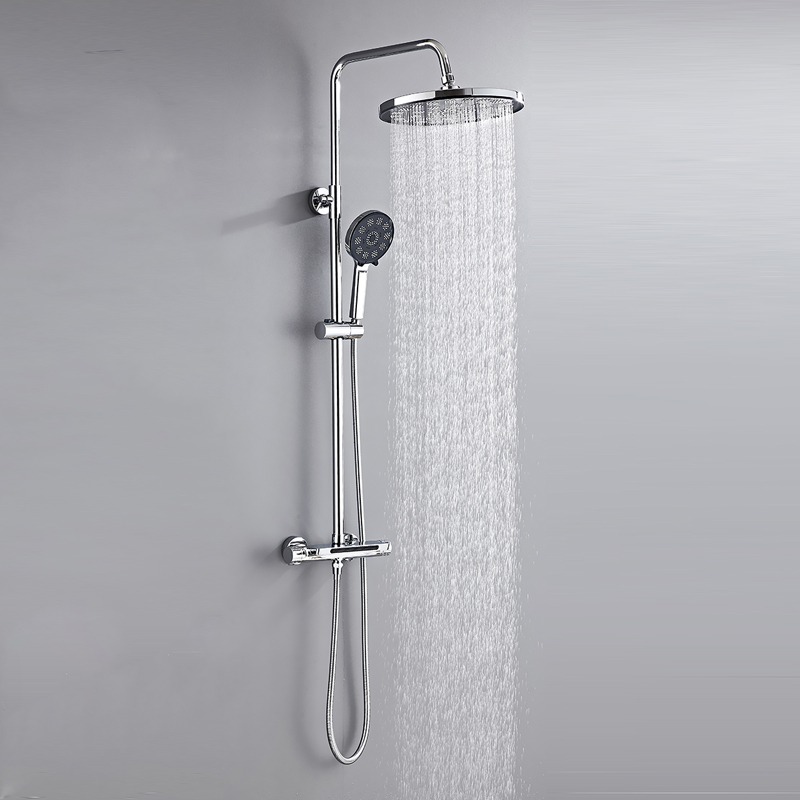
Как установить душевую лейку в сборе
Установка душевой лейки - последний и самый заметный этап процесса монтажа душевого гарнитура. Начните с определения того, является ли ваша душевая лейка настенной, потолочной или прикрепленной к системе стояков. Каждая конфигурация требует немного разных действий, но основные принципы остаются неизменными.
Намотайте тефлоновую ленту на резьбовое отверстие в месте соединения душевой штанги или шланга. Этот шаг очень важен для предотвращения протечек в месте соединения. Осторожно прикрутите душевую штангу или гибкий шланг на место сначала вручную, а затем аккуратно затяните разводным ключом. Во избежание царапин всегда используйте ткань между ключом и хромированной поверхностью.
Подсоедините душевую лейку к кронштейну или шлангу, убедившись, что внутренняя шайба установлена правильно. Отсутствующая или неправильно установленная шайба - частая причина протечек. После подсоединения отрегулируйте угол наклона душевой лейки в соответствии с желаемым направлением струи. В регулируемых моделях убедитесь, что шарнирное соединение движется плавно и без сопротивления.
Включите подачу воды и проверьте душевую лейку под полным давлением. Обратите внимание на распыление и проверьте, нет ли капель в местах соединений. При наличии утечек слегка подтяните или при необходимости повторно нанесите тефлоновую ленту. Для душевых насадок с функцией "тропический дождь" проверьте равномерность распределения воды по всем форсункам.
Наконец, очистите поверхность душевой лейки и удалите весь мусор, оставшийся после установки. Правильно установленная душевая лейка повышает комфорт, эффективность использования воды и общую эстетику ванной комнаты. В сочетании с правильно подобранным смесителем душевой комплект обеспечивает стабильную работу и долговременную надежность.
Заключение
Правильная установка душевого комплекта обеспечивает безопасность, долговечность и оптимальную производительность. Тщательно установив смеситель для душа и душевую лейку, вы сможете наслаждаться надежным душем без протечек долгие годы.