Der falsche Einbau einer Duschgarnitur kann zu Undichtigkeiten führen, ungleichmäßiger Wasserdruck und spätere teure Reparaturen. Viele Hausbesitzer fühlen sich unsicher, wenn es darum geht, den Anschluss der Duscharmatur und die Ausrichtung des Duschkopfes selbst zu übernehmen. Die gute Nachricht ist, dass mit der richtigen Vorbereitung, dem richtigen Werkzeug und der richtigen Anleitung die Installation der Duschgarnitur sicher und professionell durchgeführt werden kann, auch von Laien.
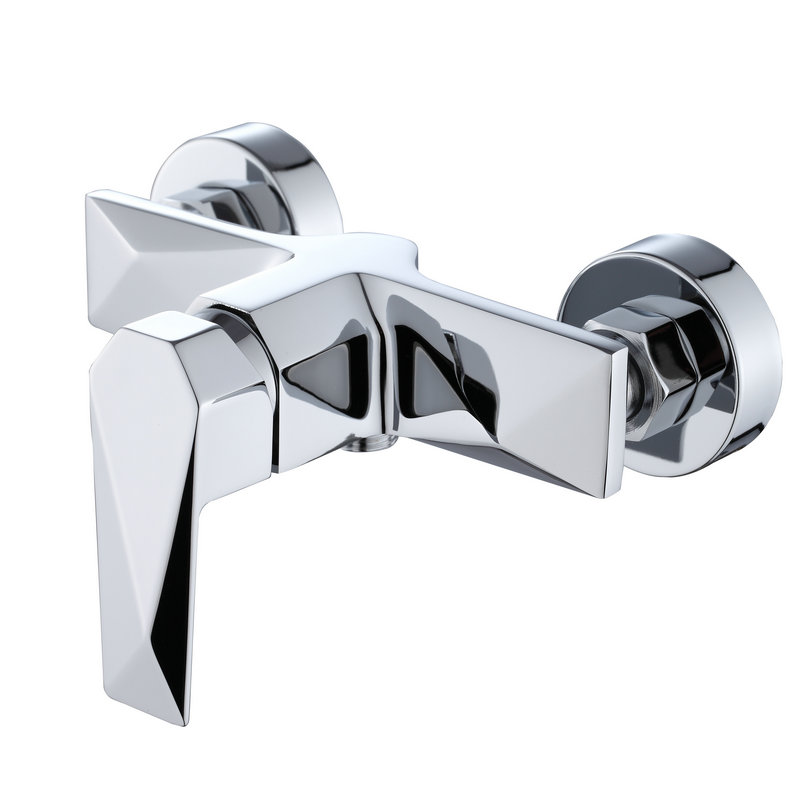
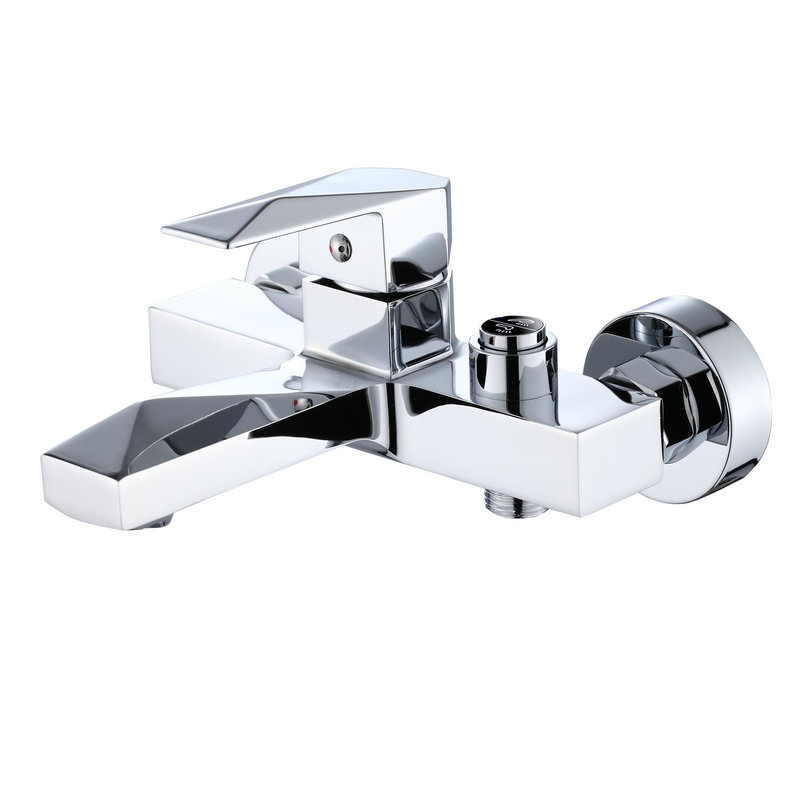
 https://www.chinawuhuang.com/portfolio/shower-set-99
Welche Werkzeuge und Materialien werden benötigt?
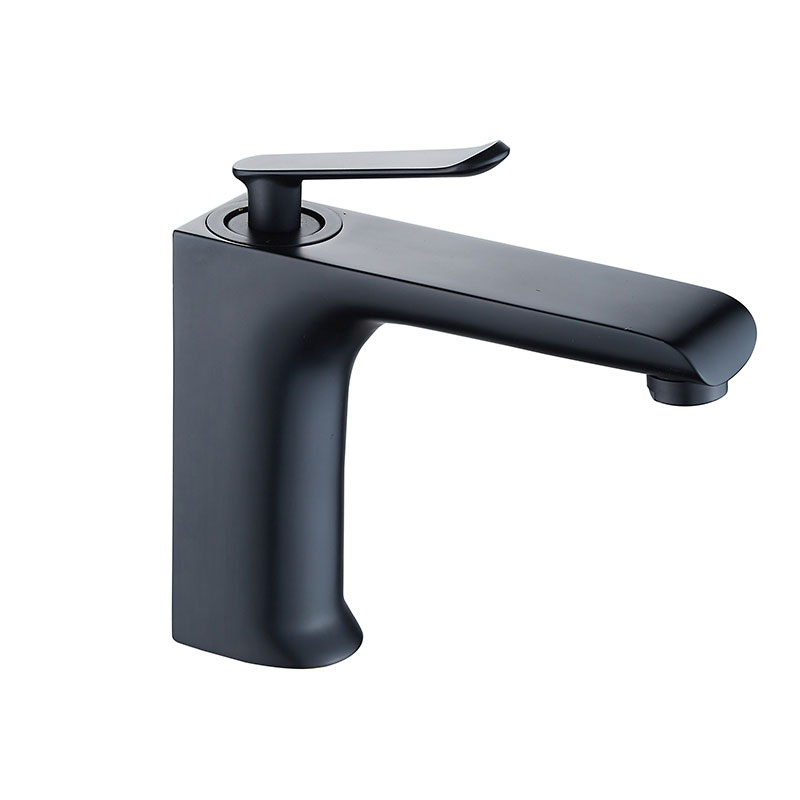
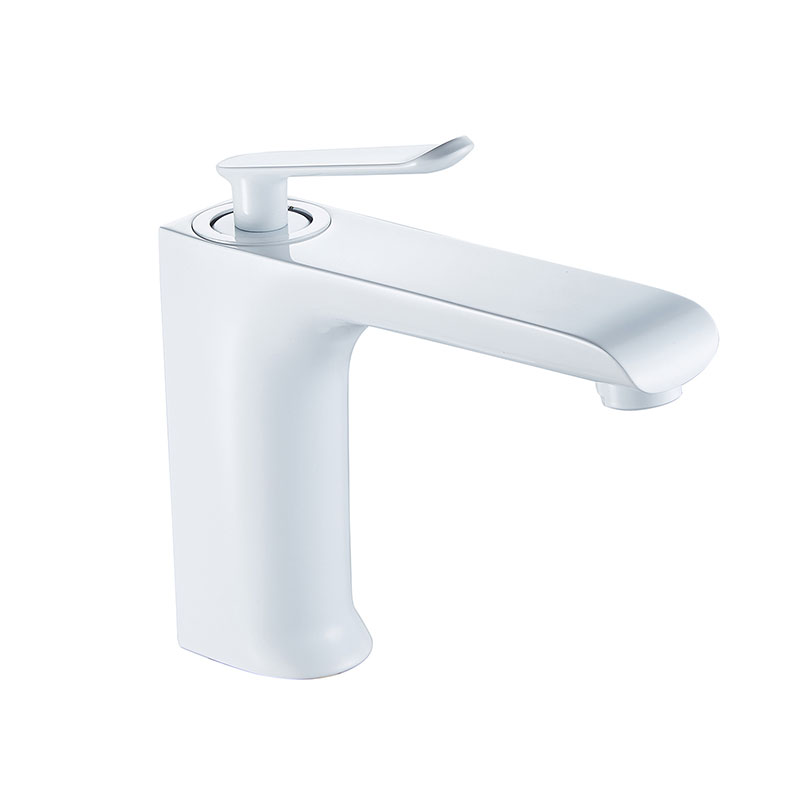
Legen Sie vor Beginn der Arbeiten einen verstellbaren Schraubenschlüssel, eine Wasserwaage, eine Bohrmaschine mit Steinbohrer, PTFE-Band, einen Schraubendreher, ein Maßband, Dübel, Schrauben, Silikondichtstoff und ein komplettes Duschset mit Duscharmatur und Duschkopf bereit. Wenn Sie alle Werkzeuge bereithalten, ist ein effizienter und unterbrechungsfreier Installationsprozess gewährleistet.

Die Installation der Dusche umfasst die sichere Montage der Duscharmatur, den Anschluss der Warm- und Kaltwasserzufuhr, die Abdichtung aller Verschraubungen und die Befestigung des Duschkopfes in der richtigen Höhe und im richtigen Winkel. Beginnen Sie damit, die Wasserzufuhr abzusperren, befolgen Sie sorgfältig die Anweisungen des Herstellers und testen Sie alle Verbindungen vor dem endgültigen Abdichten mit Druck. Eine ordnungsgemäße Ausrichtung und Abdichtung sind unerlässlich, um langfristige Leistung, Sicherheit und Komfort bei der täglichen Nutzung zu gewährleisten.
Wenn Sie ein dauerhaftes, auslaufsicheres und professionell aussehendes Ergebnis wünschen, lesen Sie weiter, um eine detaillierte, schrittweise Erklärung zu erhalten.

Wie man eine Dusche installiert: Eine detaillierte Schritt-für-Schritt-Anleitung
Eine erfolgreiche Installation der Duschgarnitur beginnt mit einer gründlichen Vorbereitung und sorgfältigen Ausführung. Der erste Schritt besteht darin, die Hauptwasserzufuhr abzudrehen, um eine versehentliche Überschwemmung zu verhindern. Sobald das Wasser abgestellt ist, öffnen Sie die vorhandenen Wasserhähne, um den Restdruck in den Rohren abzulassen. Dieser Schritt ist für die Sicherheit und Genauigkeit bei der Installation entscheidend.
Markieren Sie anschließend die Position der Duscharmatur an der Wand. Verwenden Sie eine Wasserwaage, um sicherzustellen, dass die Armatur perfekt horizontal ausgerichtet ist. Eine falsche Ausrichtung in diesem Stadium kann langfristig zu Problemen führen, z. B. zu ungleichmäßigem Wasserfluss und sichtbaren ästhetischen Mängeln. Bohren Sie die erforderlichen Löcher gemäß der mit dem Duschset gelieferten Montageschablone und setzen Sie dann Dübel zur sicheren Befestigung ein.
Schließen Sie die Warm- und Kaltwasserleitungen an die Duschbatterie an und achten Sie dabei auf die richtige Ausrichtung - in den meisten Normen ist die Warmwasserleitung links und die Kaltwasserleitung rechts. Kleben Sie PTFE-Band auf alle Gewindeverbindungen, um Lecks zu vermeiden. Ziehen Sie die Anschlüsse fest an, aber vermeiden Sie ein zu starkes Anziehen, da dies die Gewinde oder die inneren Dichtungen beschädigen kann.
Sobald die Duscharmatur angeschlossen ist, befestigen Sie sie fest an der Wand. Drehen Sie die Wasserzufuhr langsam wieder auf und prüfen Sie auf Undichtigkeiten. Wenn Sie ein Leck feststellen, drehen Sie das Wasser ab und ziehen Sie die betroffenen Verbindungen nach oder dichten Sie sie neu ab. Diese Testphase ist unerlässlich, bevor Sie weitere Schritte unternehmen.
Nachdem Sie sich vergewissert haben, dass die Duscharmatur richtig funktioniert, montieren Sie die Steigleitung oder den Duscharm. Messen Sie die richtige Höhe für den Brausekopf je nach Benutzerkomfort, bohren Sie dann die Halterungen und befestigen Sie sie. Abschließend versiegeln Sie alle Wanddurchbrüche mit Silikondichtmittel, um das Eindringen von Wasser hinter die Fliesen zu verhindern. Dieser umfassende Ansatz gewährleistet, dass Ihre Duschgarnitur zuverlässig, sicher und optisch sauber ist.
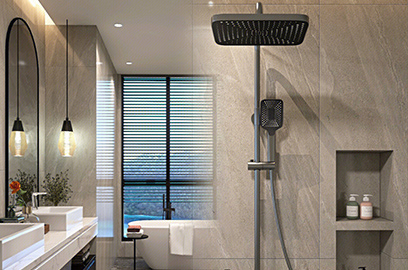
Montage des Duschkopfes
Die Montage des Duschkopfes ist der letzte und sichtbarste Schritt bei der Installation der Duschgarnitur. Beginnen Sie damit, festzustellen, ob Ihr Duschkopf an der Wand, an der Decke oder an einem Steigrohrsystem befestigt ist. Jede Konfiguration erfordert eine etwas andere Handhabung, aber die Grundprinzipien bleiben die gleichen.
Wickeln Sie PTFE-Band um den Gewindeausgang, an den der Duscharm oder der Schlauch angeschlossen wird. Dieser Schritt ist wichtig, um Undichtigkeiten an der Verbindung zu vermeiden. Schrauben Sie den Brausearm oder den Schlauch zunächst vorsichtig mit der Hand fest und ziehen Sie ihn dann mit einem verstellbaren Schraubenschlüssel vorsichtig an. Legen Sie immer ein Tuch zwischen Schlüssel und Chromoberflächen, um Kratzer zu vermeiden.
Befestigen Sie den Duschkopf am Arm oder Schlauch und achten Sie dabei auf den korrekten Sitz der internen Unterlegscheibe. Eine fehlende oder falsch ausgerichtete Unterlegscheibe ist eine häufige Ursache für Undichtigkeiten. Stellen Sie den Winkel des Brausekopfes nach dem Anbringen auf die gewünschte Strahlrichtung ein. Achten Sie bei verstellbaren Modellen darauf, dass sich das Drehgelenk leichtgängig und ohne Widerstand bewegen lässt.
Schalten Sie die Wasserversorgung ein und testen Sie den Duschkopf bei vollem Druck. Beobachten Sie das Strahlbild und prüfen Sie, ob um die Anschlüsse herum Tropfen austreten. Wenn Lecks vorhanden sind, ziehen Sie sie leicht an oder kleben Sie bei Bedarf PTFE-Band nach. Bei Regenduschköpfen überprüfen Sie die gleichmäßige Wasserverteilung über alle Düsen.
Reinigen Sie abschließend die Oberfläche des Duschkopfs und entfernen Sie alle Rückstände von der Installation. Ein richtig installierter Duschkopf erhöht den Komfort, die Wassereffizienz und die Gesamtästhetik des Badezimmers. In Kombination mit einer korrekt montierten Brausebatterie bietet das komplette Duschset gleichbleibende Leistung und langfristige Zuverlässigkeit.
Schlussfolgerung
Die korrekte Installation der Duschgarnitur gewährleistet Sicherheit, Haltbarkeit und optimale Leistung. Durch den sorgfältigen Einbau von Brausebatterie und Duschkopf können Sie jahrelang ein zuverlässiges, auslaufsicheres Duscherlebnis genießen.